 |
| Master bedroom door with transom window installed - see the next picture for the full effect |
 |
| Master Bedroom Transom Window |
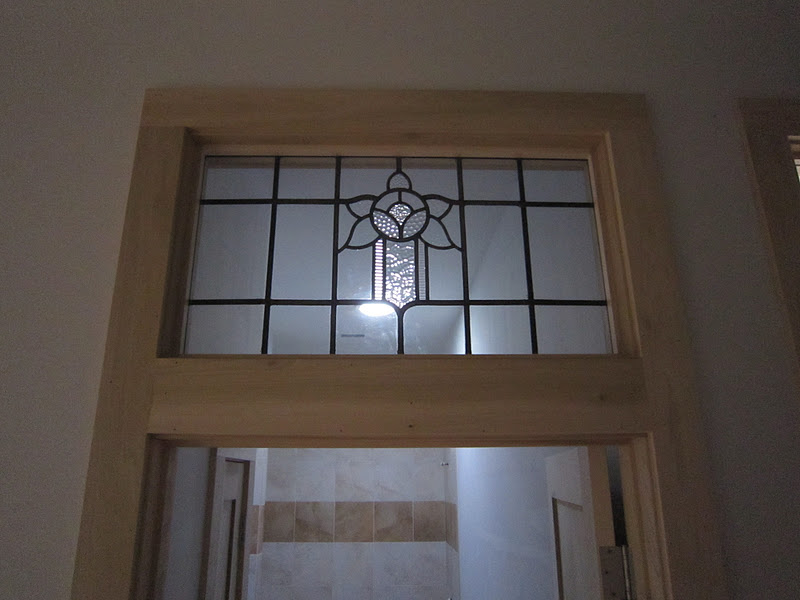 |
| Upstairs hall bath transom window - there's one just like it in the door adjacent to this one (a bedroom which will be a quilting room). |
 |
| Laundry Room Door from the family room |
 |
| Transom window over the laundry room door. |
 |
| A picture of the window sill and trim installed in the family room - yeah, that's the break area on the deck. |
 |
| One of the pantry closet doors |
 |
| Work room bifold door and entry door. Baseboard not yet complete between the doors. |
 |
| Master bedroom doors |
 |
| Some really creative work - the door had those two corners that had darker color so when the trim carpenters installed the casing around the door, they matched it. Looks like curtains on the door all the ime! |
We finished installing the decking and stairs but have a few surface-screws left to install. We used the Kreg Deck Jig system with their coated screws (saving money over the stainless screws which are about twice the price - and we needed 6 boxes of 700 per box). The one complaint we read about was tear-out of the wood using the drill and jig which we did experience but I found that since the screws were self-drilling if we simply gave them a pilot hole and did not use the countersink, the success seemed better. Regardless we're happy with the jig system. The one thing that we also found was using the jig for setting the screws really slowed down the process. Drilling with the jig and then setting the screw using the drive bit without the jig seemed to work fine. One other note is that each box of screws comes with a driver bit which is pretty long - that bit limited how close to the house we could get with the driver so we're going to cut down one bit and use it for at least one more row before face-screwing the last row of boards.
 |
| West side of the deck |
 |
| South Deck |
 |
| Deck Stairs - |
 |
| This is what grinding concrete does to you - that's a black shirt and I wear a hat to avoid the dust in the hair. An air compressor comes in very handy after finishing to rid your clothes of the dust. |
 |
| The room I was grinding down - that light patch at the top center is the ground spot which was a hump of about 3/8" that was about 1/2 done in the grinding process here. |
 |
| The storage area floor covered with the cork planks which have to acclimate for 72 hours out of the box before installation. Hopefully this week we'll be able to show you what this looks like installed. It's the Natural Cork Lisbon matte tile we chose. We've installed this material before (though not this color) and were very impressed with the durability of the product. |
New to your blog. I like what I see so far!
ReplyDelete